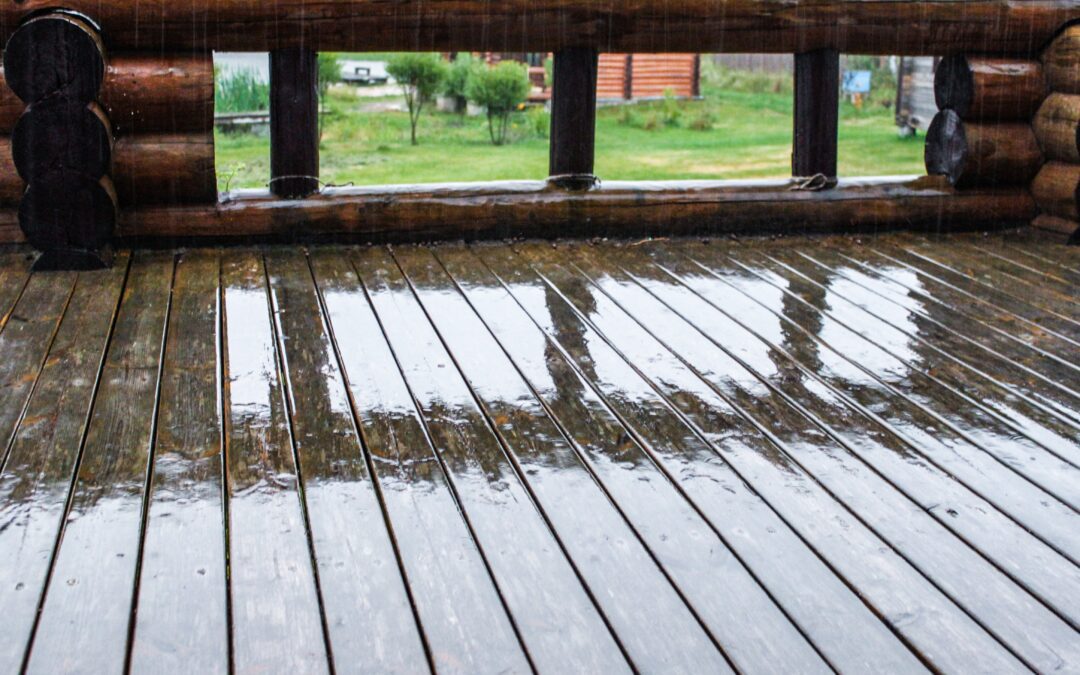
The Lower Mainland is famous for its mild temperatures and heavy rainfall. This combination creates a perfect environment for water intrusion and decay. Moisture seeps into cracks, freezes and expands, then retreats, repeating this cycle hundreds of times through the season. Even durable woods such as cedar and pressure treated lumber will eventually show wear when exposed to these conditions without proper care.
When water collects on your deck or seeps beneath boards, it can weaken fasteners and create rot within the structure. Over time, that damage can lead to unsafe conditions or costly repairs. Taking action before the wettest months arrive can save both time and money.
Step One: Clean Thoroughly Before Winter
Start by removing all furniture, rugs, and planters from your deck. Sweep away leaves, branches, and debris that trap moisture. Once clear, give the surface a deep clean.
Use warm water mixed with a gentle outdoor cleaner or wood safe detergent. Scrub using a soft brush to remove mildew, dirt, and algae. Avoid excessive pressure washing which can strip away protective finishes and damage the grain of the wood.
Allow the deck to dry fully. This step is important because trapped moisture can interfere with sealants or stains that will be applied later. Choose a dry day or a series of clear days to complete this stage so the surface is completely moisture free before proceeding.
Step Two: Inspect for Damage and Weak Spots
Once your deck is clean and dry, take time to inspect it carefully. Look at every part of the structure, not just the surface.
- Examine boards for cracks, softness, or raised edges.
- Check fasteners to ensure they are secure and not rusted.
- Test railings and posts for movement or looseness.
- Look beneath the deck for signs of rot or water pooling.
If you find problems, address them as soon as possible. Replacing a single board or tightening fasteners now prevents bigger repairs later.
If you see widespread deterioration or structural issues, consider scheduling a professional inspection with the experts at All Hands on Deck. A trained eye can uncover hidden moisture damage that may not be visible.
Step Three: Improve Drainage and Airflow
Water should always be able to flow freely off and around your deck. If rainwater collects in certain spots, that area will deteriorate much faster than the rest.
Make sure gaps between decking boards are clear and unobstructed. Remove debris caught in these spaces. Check that the deck’s slope allows water to drain away from your home rather than toward it.
Proper airflow beneath the deck is just as important as surface drainage. If the underside remains damp for long periods, it encourages mold and fungus. Trim back plants or shrubs that block airflow and ensure there is enough open space between the deck and the ground.
Step Four: Seal and Protect the Surface
Sealing your deck is one of the best defenses against moisture. A high quality water repellent or penetrating stain creates a barrier that helps prevent absorption.
Before applying, verify that the wood is completely dry and the weather forecast calls for at least two or three consecutive dry days. Use a brush or roller to apply the sealant evenly, following the manufacturer’s instructions. Pay special attention to joints, board ends, and seams where water tends to collect.
If your deck is composite, inspect for gaps, warped boards, or loose end caps. Composite materials resist moisture better than wood but still need regular cleaning to avoid surface mold or algae.
A properly sealed deck will shed water easily, reducing the likelihood of rot and extending its life span significantly.
Step Five: Protect Furniture and Accessories
Outdoor furniture, planters, and decorative items can hold moisture against the deck surface. Store these indoors for the winter or place them on raised bases that allow air to circulate underneath.
Clean and dry all cushions before storing. Empty planters to prevent overflow during rainstorms. Cover built-in benches or permanent features with breathable waterproof covers.
Inspect hardware, lights, and other fixtures for corrosion. Replace rusted fasteners with stainless steel or coated options that resist moisture. These small adjustments protect your investment and keep your space looking neat even in the off-season.
Step Six: Plan for Snow and Freezing Temperatures
Although snow is less common in the Lower Mainland than in other parts of Canada, it can still appear a few times each winter. Ice buildup poses a significant risk to deck surfaces.
If snow accumulates, use a plastic shovel or broom to clear it gently. Avoid using metal shovels which can gouge the surface or scratch sealant. Never use salt or chemical deicers because they can strip finishes and corrode metal fasteners.
Keeping the surface clear reduces the pressure on boards and prevents meltwater from seeping into small cracks where it can refreeze and expand.
Step Seven: Monitor Throughout the Season
Deck protection is not a single event but an ongoing process. Take a few minutes after major storms to look for pooling water, shifting boards, or stains. Wipe away any leaves or debris that blow in.
If you notice persistent damp areas or soft spots, make note of them and contact a professional for evaluation. Ongoing monitoring ensures that minor problems stay minor.
Preventing Hidden Moisture Damage
Even with careful surface maintenance, moisture can find its way into hidden areas. Flashing where the deck connects to the house is one of the most common weak points. When this area fails, water can seep into walls and cause interior damage.
Inspect this connection at least once a year. Ensure flashing is intact and sealed tightly. Look for signs of water marks or staining on siding or the ledger board.
In severe cases, a waterproof membrane system may be the best long-term solution. This is especially useful for elevated decks or those built over living space. All Hands on Deck can advise you on modern systems that protect the structure without altering its appearance.
When to Call for Professional Help
While many maintenance steps are simple enough for homeowners, some issues require professional attention. You should call an expert if you find:
- Structural sagging or unevenness
- Persistent water accumulation under the deck
- Widespread mold, mildew, or wood decay
- Corrosion spreading through metal connectors
- Signs of instability in railings or stairs
A professional evaluation will determine whether repairs, replacement, or waterproofing upgrades are needed.
If you are ready to schedule a professional inspection or want advice on winter deck protection, visit Request a Quote. The team at All Hands on Deck can help you prepare your outdoor space for every season.
Additional Maintenance Tips
- Keep gutters and downspouts clean so water does not spill onto the deck.
- Reapply sealant every few years depending on wear and weather exposure.
- Store snow shovels, salt, and chemicals away from deck surfaces.
- Inspect lighting fixtures for safe operation and replace damaged bulbs or wiring.
- Take photos after major maintenance so you can track wear over time.
These small habits extend the life of your deck and reduce expensive surprises.
Conclusion
Winter moisture is unavoidable in the Lower Mainland, but damage is not. Preparing your deck before the rainy season, sealing it correctly, and maintaining good drainage will protect your investment for many years.
With regular care and professional guidance, your deck will remain safe, attractive, and ready to enjoy whenever the weather clears.To learn more about All Hands on Deck and how we can help protect your outdoor living space, Get in touch and request a free consultation today.
Recent Comments